


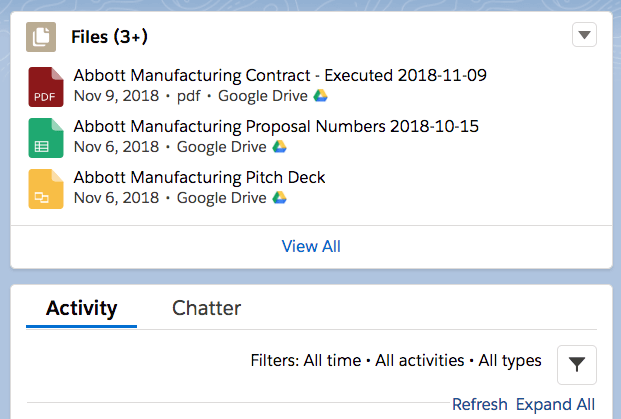
Salesforce Files Connect for Google Drive allows specified users to add Google Drive files to the Files section or a Lightning Page component of any record.
The Salesforce Files tab will show Google Drive as a Connected Source. A custom tab called Google Drive can be created. This tab can have list views like any other tab.
Setting up Files Connect for Google Drive requires administrative access to both Salesforce and the Google Cloud Platform console (the same admin login as Google Workspace).
The same username should be used for logging into both. This may mean temporarily making a Google Workspace admin a Salesforce System Administrator or vice versa.
While the following may seem like a lot of steps, the ability to set up secure server-to-server integration in about 30 minutes represents a small sliver of time compared to setting up other types of system integrations.
📝 Cloud vendors frequently make changes to their user interfaces, so what you see in Salesforce and the Google Cloud Platform console may not precisely match all the screenshots below.
⚠️ Access to Shared drives is not officially supported.
Salesforce Files Connect Setup
In Salesforce Setup, search for the words files connect. Click on the Files Connect result.

Enable Files Connect with the following settings:

Salesforce Permission Set Setup
In Salesforce Setup, search on the word permission. Click Permission Sets.

Create a new permission set named Files Connect. Leave the License field value as None.

In the Permission Set, select System Permissions. Click the Edit button.

Check the Files Connect Cloud checkbox and then save.

Assign the permission set to users:

Salesforce Auth. Providers Setup
In Setup, search on the word auth. Click on the Auth. Providers result.

Create a new Auth. Provider.
In the Provider Type field, select Open ID Connect. In the Name field, enter Google Drive. Add placeholder values to the four required files shown below. Click Save.

After saving, a Callback URL will be assigned in the Salesforce Configuration section.

Copy/paste the Callback URL into a text editor.

Google Cloud Platform Setup
In Google Cloud Platform, click on Select a project (or an existing project name) and then click New Project.

Name the project Files Connect Google Drive.

Search for and select the Google Drive API.

Click the Enable button to enable the Google Drive API.

While still in the Files Connect Google Drive project, click the Create Credentials button.

Select OAuth client ID.

Click the Configure consent screen button.

In the consent screen, under Application Type, select Internal. Give the application a name, such as Files Connect for Google Drive.

Under Authorized domains, add salesforce.com. Click Save.

Select Web Application. In the Name field, enter Salesforce. Paste the callback URL from your text editor into the Authorized redirect URIs section. Click the Create button.

A client ID and client secret will be created.

Copy the client ID and paste it into the Consumer Key field of the Auth. Provider Edit screen. Copy the client secret and paste it into the Consumer Secret field.

Copy and paste the following URLs into the corresponding fields in the Auth. Provider Edit screen (above).
Authorize Endpoint URL: https://accounts.google.com/o/oauth2/auth?access_type=offline&approval_prompt=force
Token Endpoint URL: https://accounts.google.com/o/oauth2/token
User Info Endpoint URL: https://www.googleapis.com/oauth2/v3/userinfo
Default Scopes: openid email profile https://www.googleapis.com/auth/drive
Salesforce External Data Source Setup
In Setup, search on the words external data. Click External Data Sources.

Create a new External Data Source.

In the New External Data Source Screen, enter the following values:
External Data Source: Google Drive
Name: Google_Drive
Type: Files Connect: Google Drive
Authentication Provider: Google Drive
Leave the default values in the other fields.

Click the Save button. You will be taken to the Google Workspace sign-in screen. Select your Google Workspace account and enter your password if prompted.

After logging into your Google Workspace account, you will be returned to External Data Sources and will see your Google Workspace username in the Administration Authentication Status field.

Go back to the Files Connect permission set and add the External Data Source you created earlier to the right-hand Enabled External Data Sources column.

Salesforce External Object Setup
In the External Data Source for Google Drive, click on the Validate and Sync button. This will synchronize the Google Drive schema to Salesforce. Don’t worry, it will not synchronize files into Salesforce.
An External Object will be created and the bottom section will appear.

Click the Edit link under Action. In the edit screen, give the Google Drive external object a user-friendly label such as “Google Drive”.

Salesforce Google Drive Tab Setup
In Setup, search on the word tabs. Click Tabs.

Click the New button.

In the Object picklist, select Google Drive. Select a tab style or upload your own icon.

Complete the setup by assigning the tab to the appropriate Profiles.
Users will now be able to add Google Drive files to Salesforce Files. They will also be able to create list views of Google Drive files in the Google Drive tab.


